Better batteries for effects pedals and amps

Effects pedals and battery-powered amps are convenient and portable, but they still run off of disposable batteries, usually of the AA or 9V varieties. I sure don’t need to tell you that buying and keeping stock of alkaline batteries is a pain in the ass and expensive. Surely there’s a better way.

You might think: “rechargeable AA/9V batteries! That’s the answer!” But no, no they’re not. Actually, they kind of suck.

Here’s why:

  • They have lower capacity than regular alkaline batteries.
  • They degrade in capacity over time.
  • There’s no way to tell how much charge is left in them.
  • You need a special appliance to charge them.
  • They are failure prone. I’ve had lots of them just kick the bucket halfway through their operating life and refuse to charge.
  • They self-drain. Don’t use your gizmo for 9 months or so? Too bad, the batteries died in there. You should have recharged them right before putting them in which, like, defeats the purpose.
  • And here’s something you may not have known: They straight up run at the wrong voltage.

On that last point: A rechargeable NiMH AA battery is 1.2V. Alkaline equivalent is 1.5V. That’s a 20% difference in the unfavorable direction. There are 9V rechargeable batteries on the market that run at 7.4V… huh?! That’s not even close.

While most devices have an operating nominal voltage much lower than full capacity, they are optimal at full voltage. And you can bet it will drop below nominal much sooner when you’re running at 20% less to begin with. Further, running at lower voltage for audio gear can lead to lots of nasty distorted sounds that would drive you crazy trying to figure out. I’ve found out the hard way.

Wouldn’t it be nice if you could convert your gear to just plug-in recharge… and have a battery life indicator… and operate much longer between charges… and basically work kinda like… you know, your smartphone?

That last thing got me thinking: what about those portable USB LiPo power banks for charging said smartphones? They have LiPo batteries in them, which is a superior chemistry to NiMH. They last super long and have very low-self discharge. They also have convenient LED battery life indicators on them. And you might already have one.

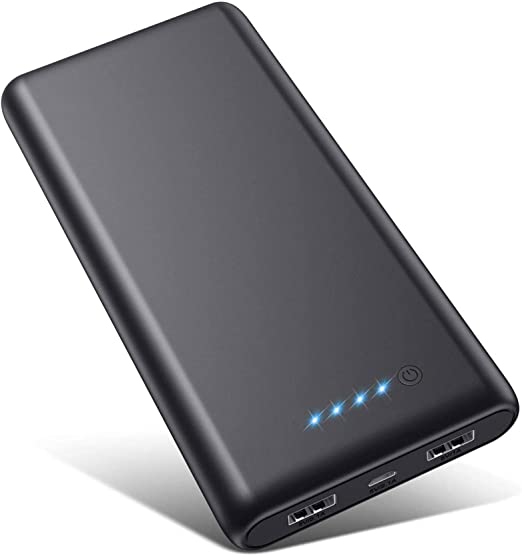
Only problem, though they operate at 5V. Doesn’t really help with pedals and Roland Cube amps which run at 9V.

That’s where a step-up converter comes in. I was able to find these on Amazon (affiliate link), which can step up a 5V USB power source to 9V or 12V. Amazing, right? They terminate to a standard barrel connector which would go right into the AC adapter plug in your device.

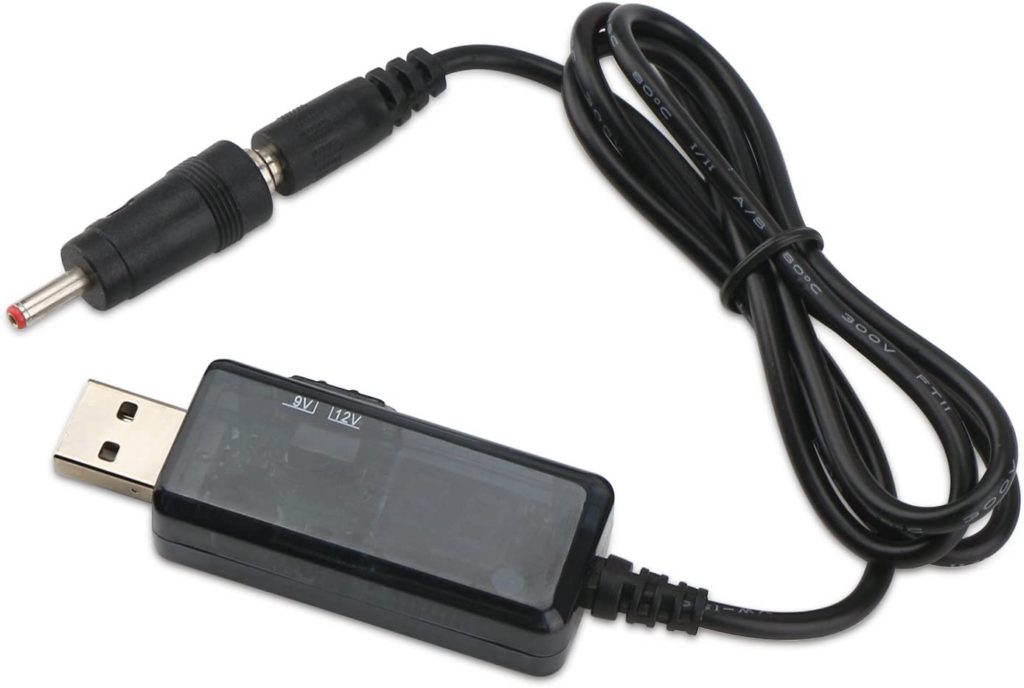
Another thing, though. The polarity of the AC power input of most pedals and Roland Cube amps is center-negative. How to tell? Look for an icon like this near the AC jack:

The center dot is connected to a “minus” sign. So that means the middle of the AC connector has negative polarity. You’d see a “plus” on the right and “minus” on the left if it was the opposite case.

Since this converter’s plug is center positive, so you need to reverse its polarity. If you’re lazy and like spending some extra bucks, you can buy a cable to do this. Looks like this:

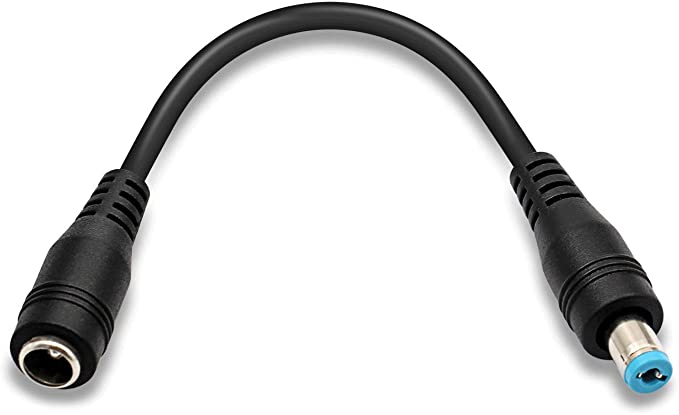
Here’s a link to that (affiliate link).

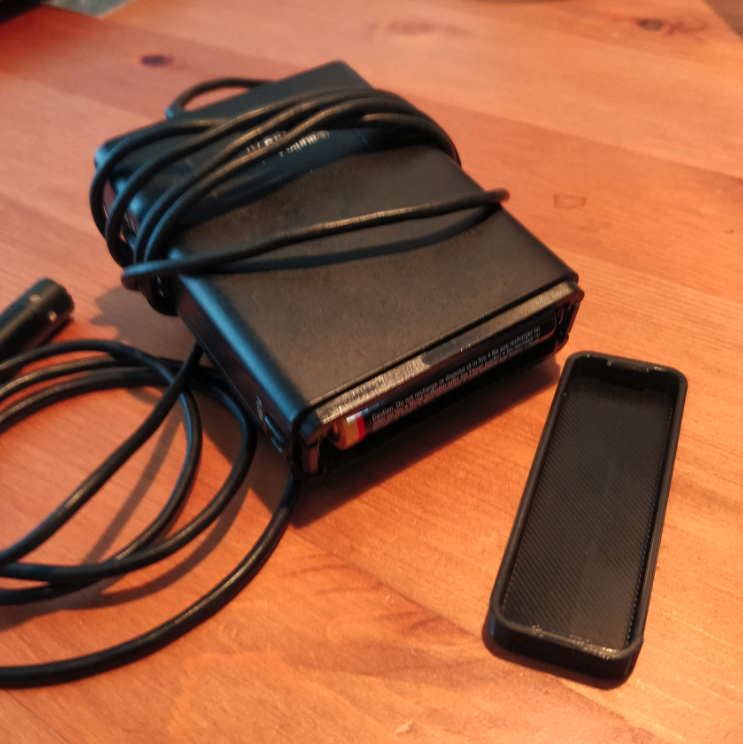
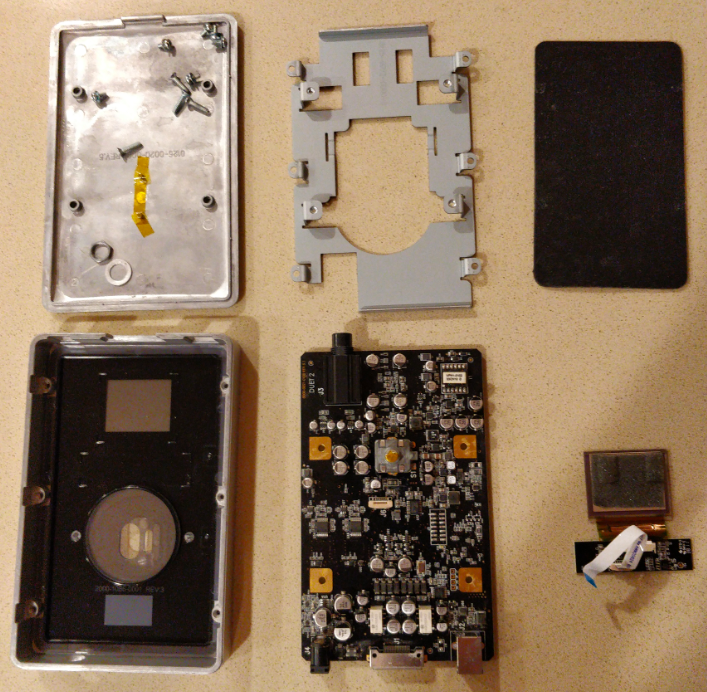
If you’re like me and you don’t want the extra bulk and like to take things apart, you can just pop open the step-up converter casing like this:

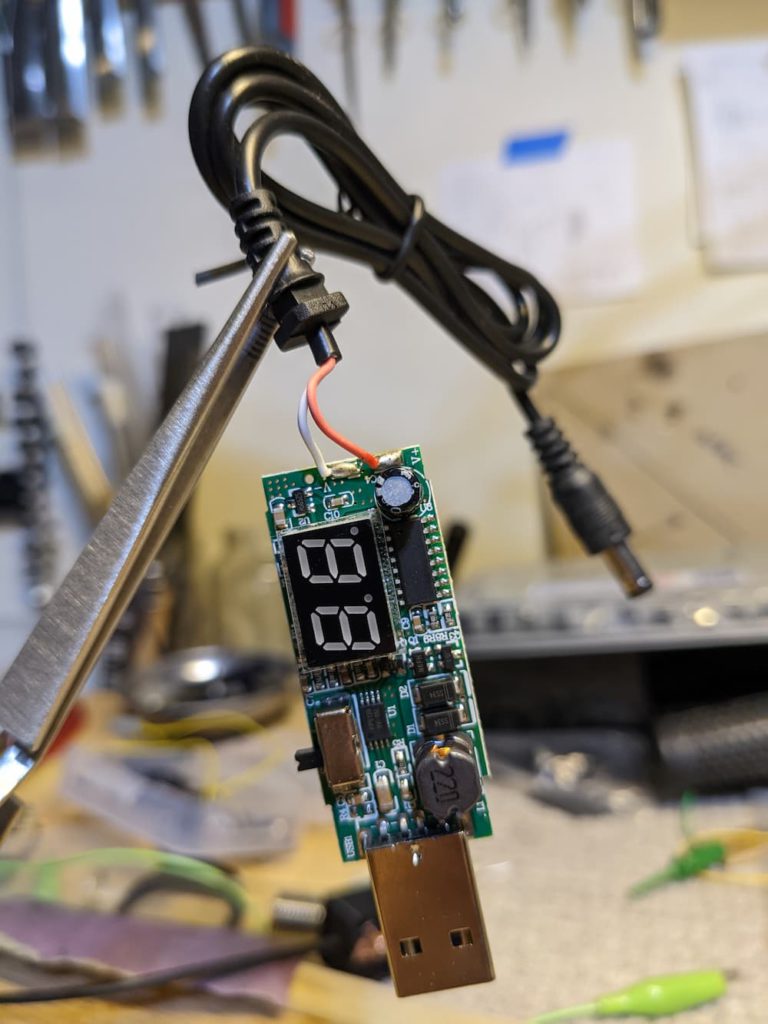
Then desolder the red and white leads, and flip them around so the red wire goes to “V-” them, like so:

Note that I used a different, shorter cable, so the GND wire is black, but as long as red goes to V- and GND goes to V+ you’re good to go

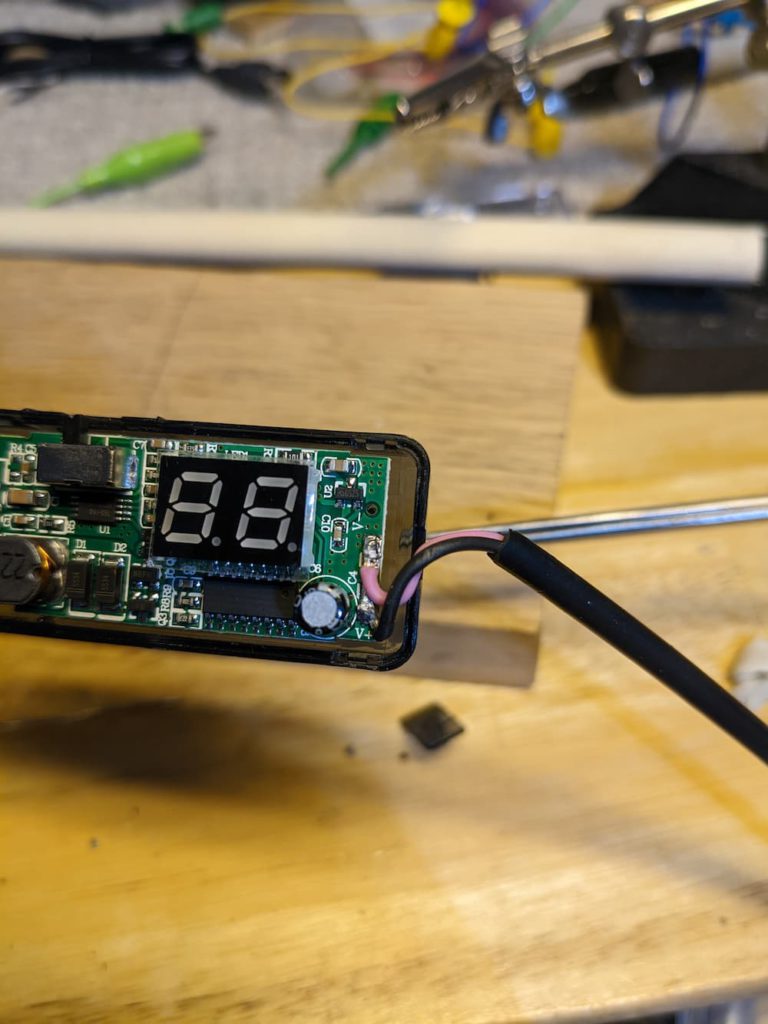
There, now the center terminal of the existing connector is negative and you can plug it right into a guitar pedal or 9V amp.

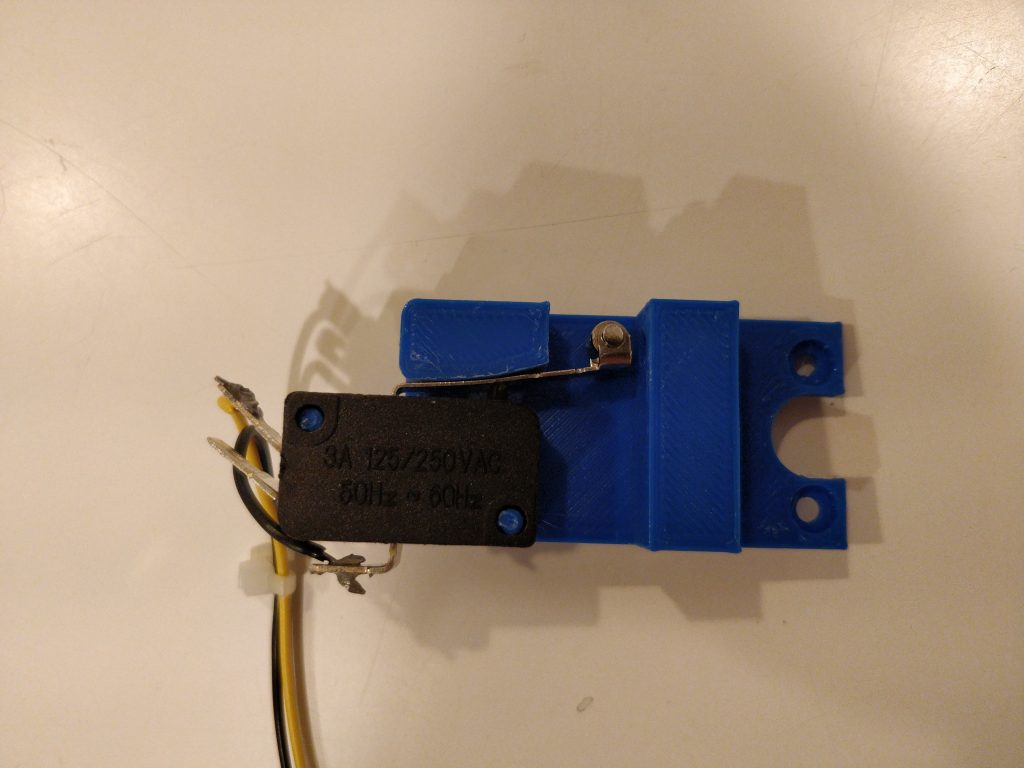
As an extra safety measure, I popped off the plastic switch handle and taped over it to prevent myself from accidentally switching it to 12V. Probably a good idea for you do the same.

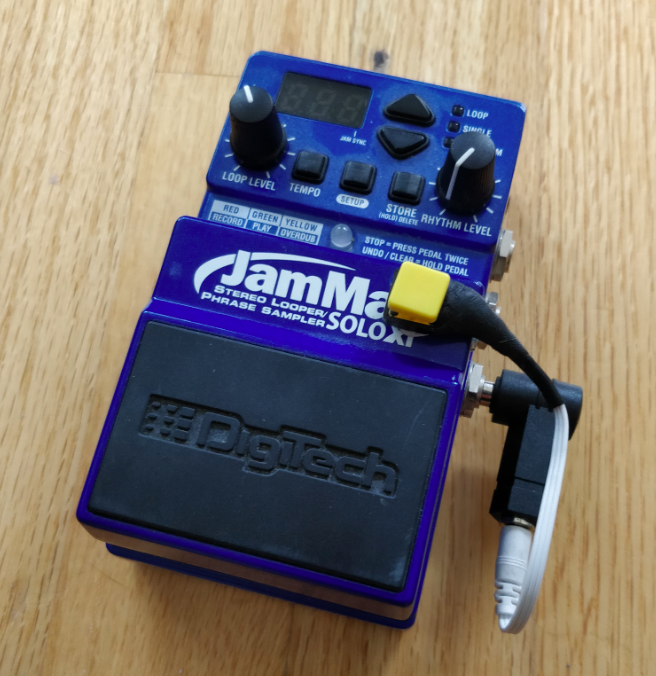
In order to make things more self-contained, I velcro’ed a thin 10000 mA-hour battery (only cost $15) to my Roland Mobile Cube (I may sing the praises of this little lunchbox-sized amp in another post) and installed a shorter right-angle connector to the AC end. I can power this sucker for weeks of operation this way, and at any time check the battery level indicator to know when I should recharge it.

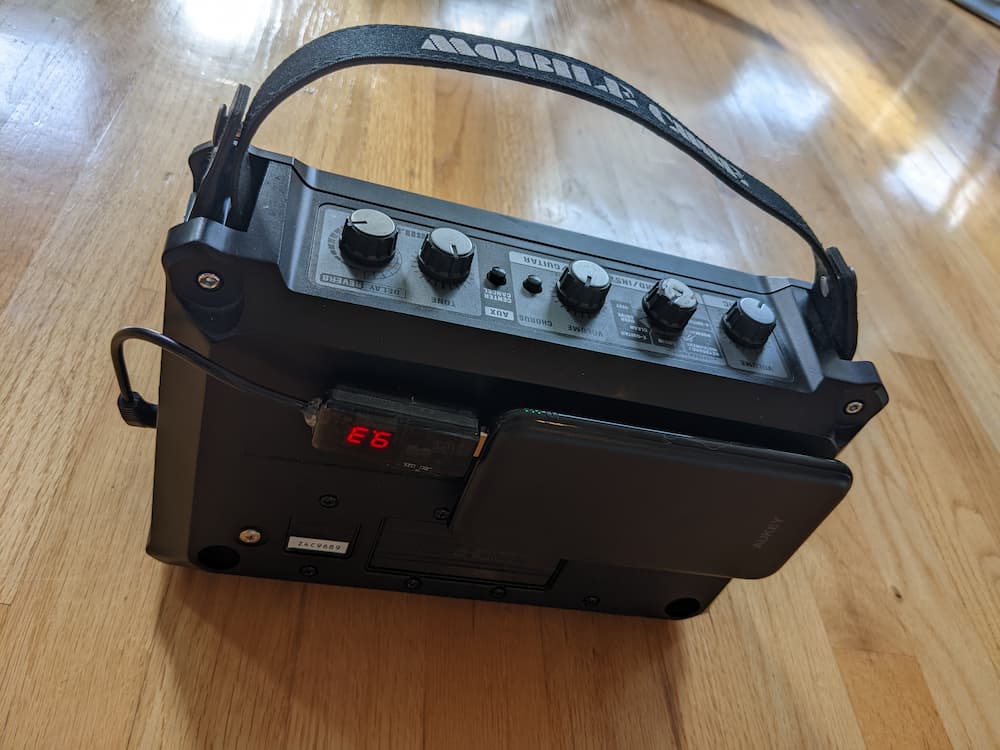
In practice, I rarely have to recharge. 10000 mAh of 5V is equivalent to ~5555 mAh of 9V capacity (10,000 * 5/9). By my estimation, at a rated operating current of 170 mA, it would run this amp for 5555 mAh / 170 mA = 32 hours?! Seems insane. But sure enough I’ve been using this rig casually out and about for 6 months or so and have recharged it maybe once?

Extra lazy and want to spend a little more? You could also skip all this modding nonsense altogether and just get one of these guys:

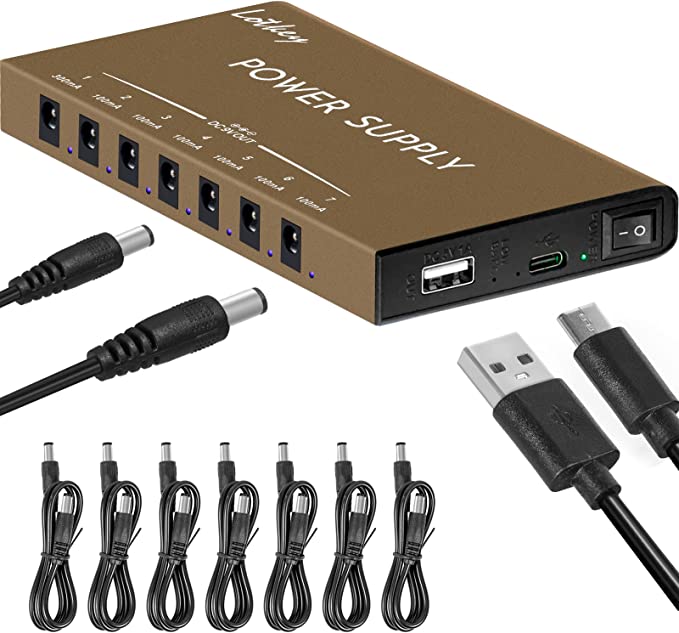
It’s a rechargeable 4400mAh 9V battery, and comes with all the ports and cables to power up to 7 analog effect pedals, or anything else that runs on 9V. I have one and it works just fine. Though you should make a note of how much rated current your device pulls. If it’s more than 100 mA, you need to plug it into the single port labeled “300mA”.

All about that DeArmond Rhythm Chief pickup screw-on connector

If you’re here you probably just acquired an earlier vintage DeArmond Rhythm Chief (RC1000 or RC1100) archtop guitar pickup, got all excited to plug it in, then looked at the volume/tone control box thought, “huh? what the heck is this weird screwy connector?”

Well I’ll tell you what that is: it’s a very antiquated microphone jack that isn’t really around anymore.

To save you some time, if you want an adapter cable that converts this to a standard 1/4″ output jack, I sell them! Right here.

But if you want to make one yourself, the part number is Switchcraft 5501FX, and you can get them at Mouser, Digikey, or Angela Instruments. You could supply your own guitar cable, chop off one end, and attach this instead. Done.

Well, actually it’s not that simple. It’s a very unconventional connector and not really a “unscrew some stuff, then solder two contacts” sort of affair. But I’ll get to how to install one of those in a bit.

Another option is to just buy the whole dang cable. Archtop.com has them here…. for $49 + shipping. And I see them on Reverb for more or less the same.

Sure, if you’re a busy multi-thousandaire you will probably think nothing of snapping one up, but chances are that you’re a dumpster-diving jazz guitarist wondering if there’s an alternative.

So is there a cheapskate, DIY, stuff-around-the-house solution? Well, as it turns out… yes there is.

Continue reading “All about that DeArmond Rhythm Chief pickup screw-on connector”

Removable 1/4″ input jack enclosure for Archtops and Selmer-style guitars

I started with volume/tone control boxes, then volume-only control boxes, and now it only seems natural to go the “purest” form: a simple 1/4″ input jack enclosure for the various pickups you might encounter. And if you’re like me, you no doubt have a dusty drawer full of them: Krivo, DeArmond, Stimer, Kent, and so on. Why do we do this? Who knows.

These are available in my store.

A standalone input jack strapped on to the top 3 strings.
Continue reading “Removable 1/4″ input jack enclosure for Archtops and Selmer-style guitars”

Project: make your own face mask out of tissue paper

In a Coronavirus pandemic world, working on guitar-related projects suddenly seems a bit… frivolous. Thanks to some cool 3d-printed life-saving solutions hitting the news during this time, my mind has shifted towards PPE (Personal protective equipment). Specifically, protective face masks which are difficult to come by these days.

Do your worst, large droplets

Now before I get the lecture: no, these are no replacement for N95 masks, which are designed to filter airborne particles of down to .3 microns. I see this as more of a solution for people trying to navigate in public without infecting anyone else and lowering your chances of inhaling large droplets from other folks coughing or sneezing. Also, if you make your own masks, you don’t have to go out and buy them reducing stock that should probably go to medical professionals. Finally, it’s better than nothing.

Continue reading “Project: make your own face mask out of tissue paper”

Project: Audio Technica AT Pro 70, AT831b battery cover

Another quickie: I finally lost the battery cover to my AT Pro 70 lavalier microphone. Whipped this up right quick and sent it to the printer. Got the dimensions and curvature right on the first try!

It’s up on Thingiverse here: https://www.thingiverse.com/thing:4192857

If you rather just purchase one from me, head over to the store, where apparently I’m the leading supplier of AT lavalier microphone parts and accessories in the world. This is the life I have chosen.

Octoprint: free SMS notifications on filament runout and more

While I’ve never had a spool of filament run out mid-print, it was time to prepare for the inevitable. First, I would need a sensor to detect the scenario. Also, time is usually of the essence if you’d like to save the print and swap in new material, and I figured it would be best to get an instant notification via SMS.

I came up with a solution using my preferred 3D printer interface, OctoPrint. It was a bit involved, so buckle up! This guide assumes you have some experience with basic electronics, 3D printing, OctoPrint, and Raspbian (ssh, shell, GPIO).

Continue reading “Octoprint: free SMS notifications on filament runout and more”

Adding the missing STOP button to the JamMan Solo XT

The JamMan Solo XT by Digitech is a basic, compact, affordable looper pedal. It does most everything I would need, but after using it a few months, I found the lack of a dedicated stop button really frustrating. Sure, you can stop a loop by quickly double-tapping, but this is actually not very easy to do in the heat of the moment, especially when you’re juggling all the other things you need to remember in this one-pedal setup (long-press is undo, tap once is overdub/start track/start record).

Continue reading “Adding the missing STOP button to the JamMan Solo XT”

Apogee Duet 2: Repairing the OLED display

Knolled Apogee guts

I recently returned from a nice week-long art residency along the northern California coast. My primary goal during this time was to record some solo jazz guitar. Imagine my dismay when I plugged in my Apogee Duet 2 interface on the first night and it didn’t turn on.

After an hour or so furiously swapping cables and downloading drivers, I discovered that it was indeed “working” and being detected by the system. That is, the inputs and outputs of the unit were functional. But the OLED screen that usually showed meter lights and other UI was busted.

Well luckily, you can do most of what you need with this thing in software using Apogee’s “Maestro” drivers and some might agree it’s a better overall UI experience. So I was able to get some recording done that week after all. But of course, the broken-ness of it all got under my skin and I started researching how to fix this out-of-warranty $300 future paperweight.

Continue reading “Apogee Duet 2: Repairing the OLED display”

Mid-century pole lamp – replacement cone lampshades

I’ve had this mid-century pole lamp that’s been sitting in disrepair. The plastic (?) cone lampshades started disintegrating and one day a friend was over, reached up to adjust one and it exploded and shattered in his hand. Game over. No one makes replacements for these.

Continue reading “Mid-century pole lamp – replacement cone lampshades”