In your kit, you will have the following items:
- 1x control box enclosure and lid
- 1x output jack
- 2x A250k potentiometers
- 2x knobs
- 1x capacitor
- 1x mounting bracket
- 1x mounting screw and nut
- 1x sheet of adhesive copper tape
- 1x ziptie
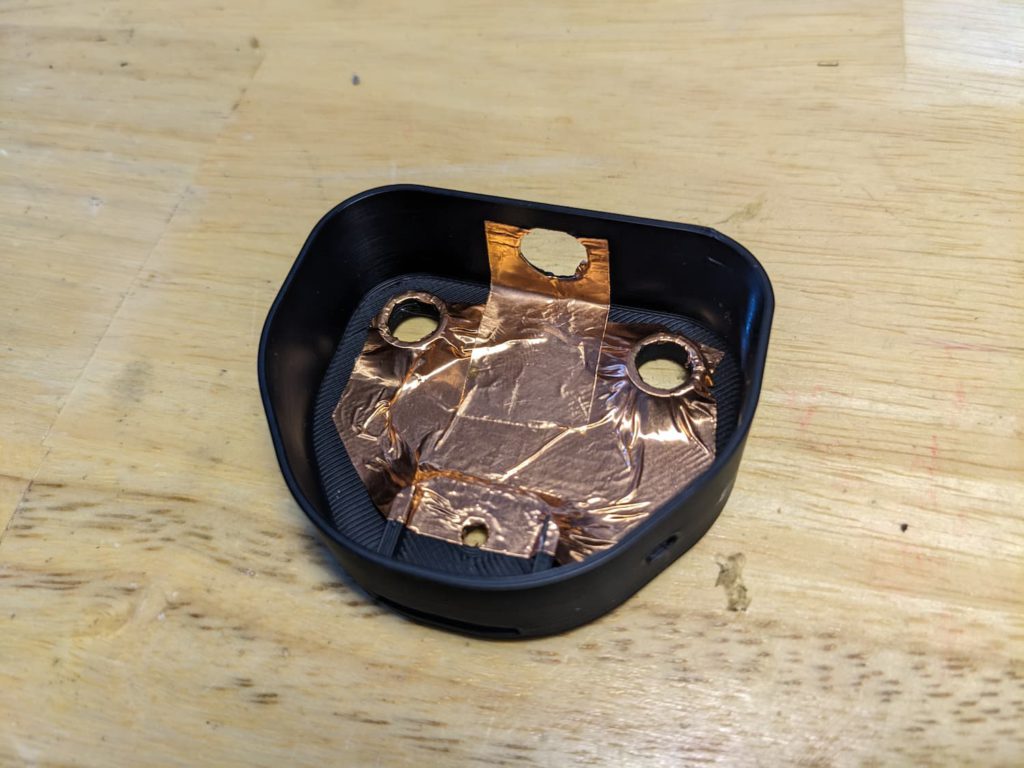
- Shield the interior of the housing with included copper tape and cut out the holes in the center with a utility knife. You do not need to cover the entire surface. Just ensure that the tape makes contact with the sides of each mounting hole. This will ground all the components together with the mounting plate, so you want to make sure it’s touching the metal parts of all the components.
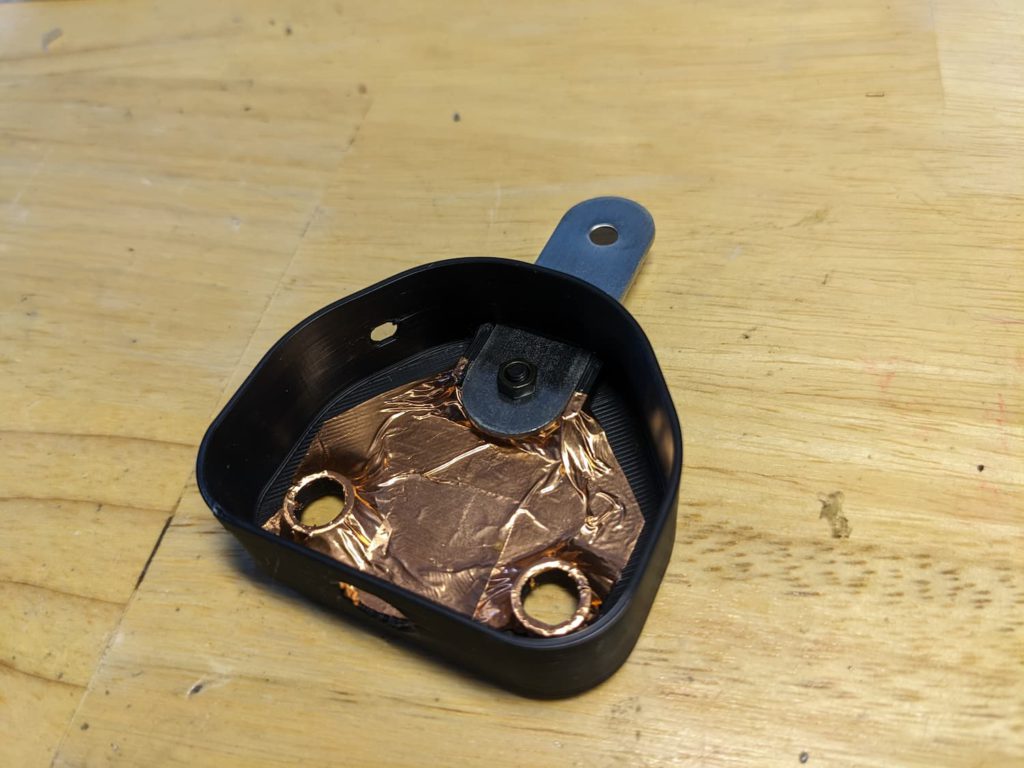
Note that newer revisions of this product have a different mounting arm. It actually attaches like the following picture below. The bracket hole should line up with a plastic circle protrusion and the mounting hold aligns with the bottom:
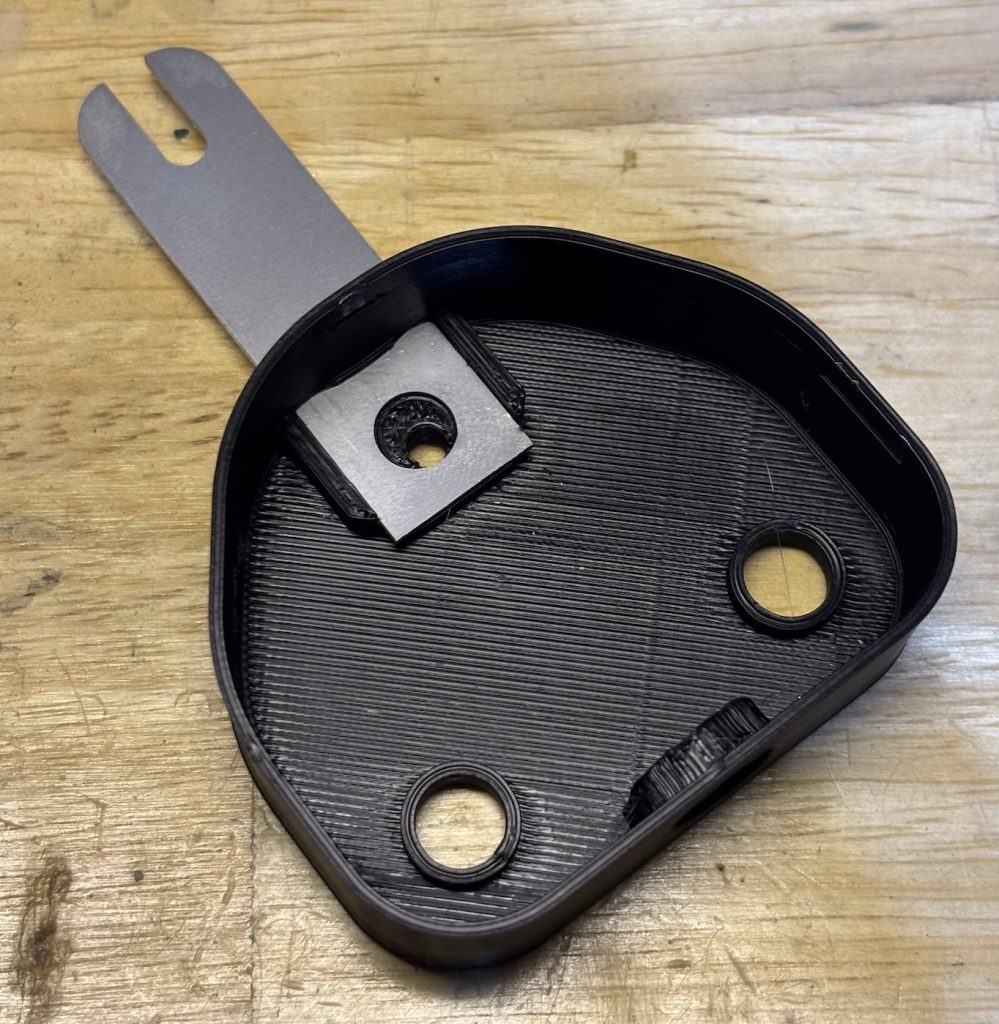

2. Slide the mounting plate through the slot and secure it with the supplied nut and bolt. Allen wrench is required.
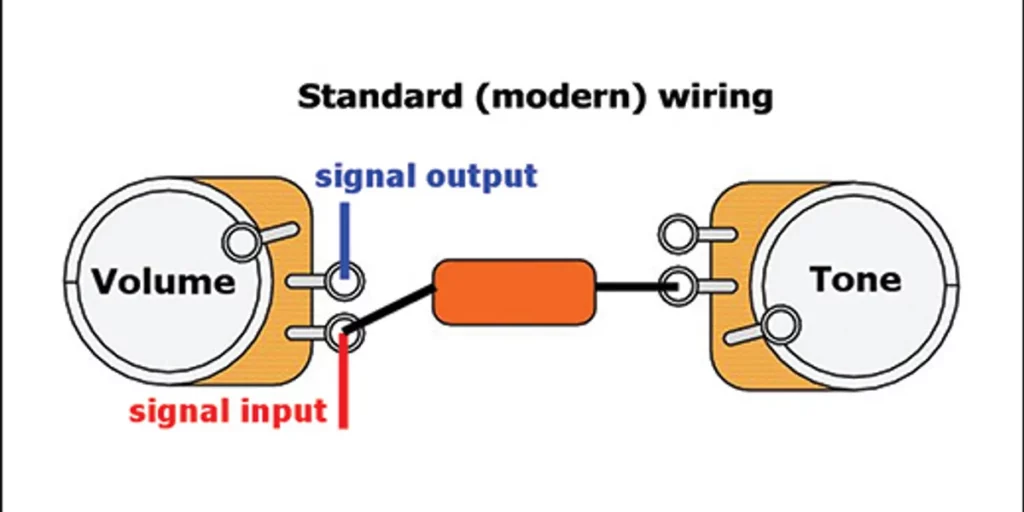
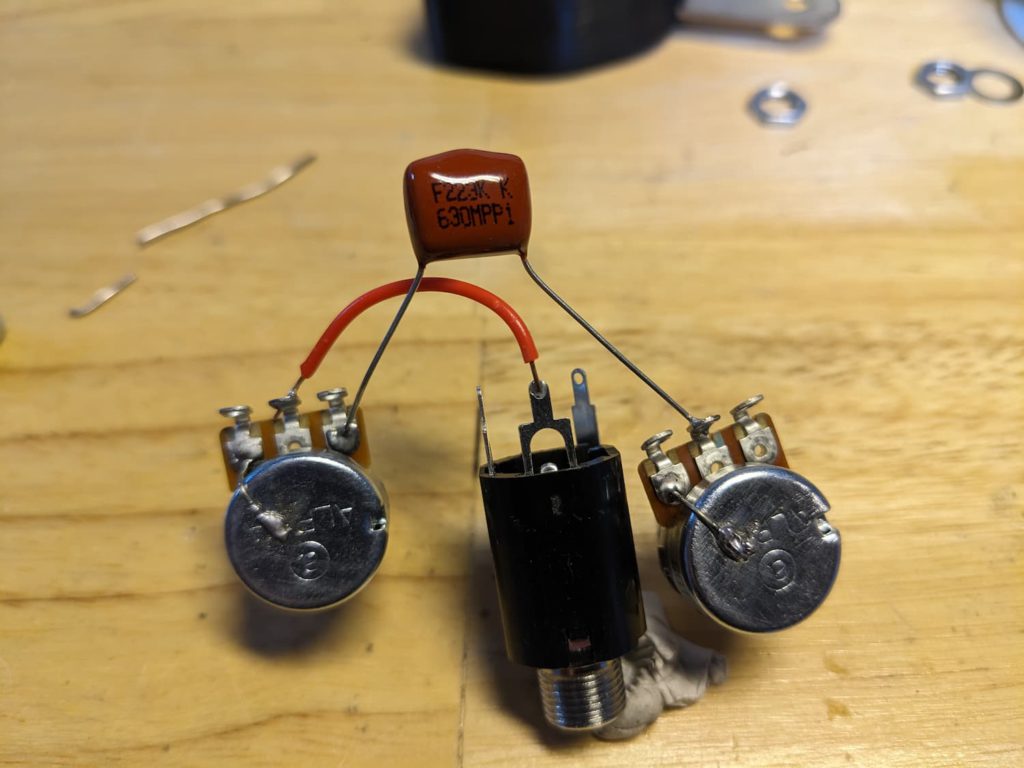
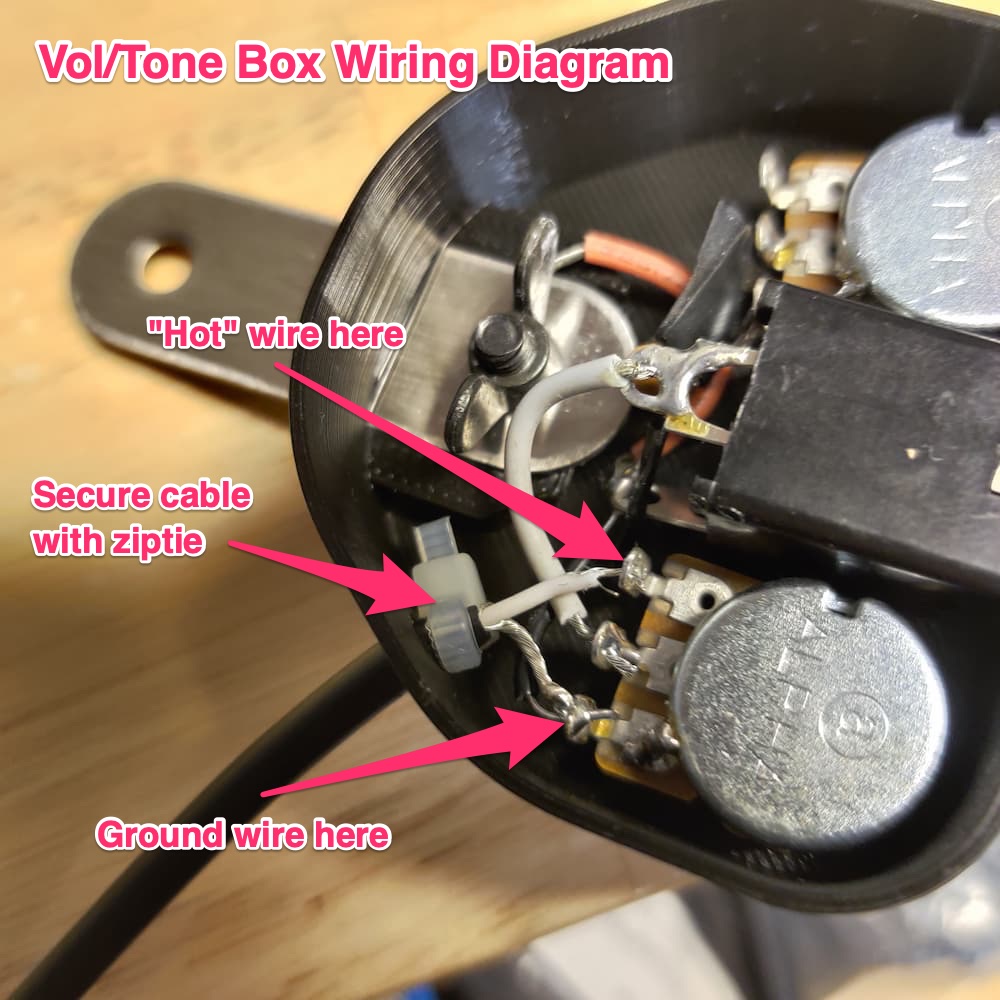
3. Solder up the electrical components like like this. You can use your own wiring if you prefer, but the typical “Standard (modern) wiring” is used here.
- That the left contact on both pots is grounded to their casing with solid wire.
- The red wire is going from the center contact (volume pot, left) to the tip contact on the output jack. “Tip” is where the jack makes contact with the tip of the instrument cable. If you insert a cable into the jack it should be clear which contact is connect to the tip.
- The capacitor connects from the right contact (volume pot, left) to the center contact (tone pot, right).
- Note that on the left volume pot I have used some of the the board contacts. The left and right main contacts unsoldered. This is because the pickup will eventually be attached to those and it makes that wiring job easier.
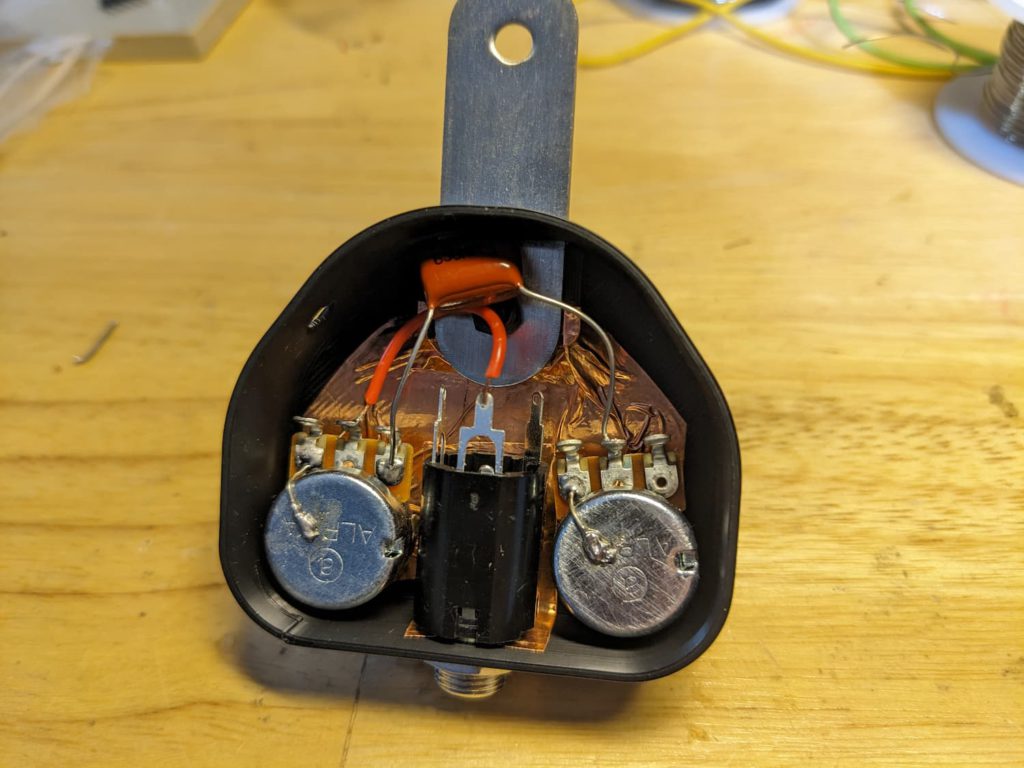
4. Insert the electrical components into the mounting holes
5. Secure the pots and output jack with the supplied nuts and washers.
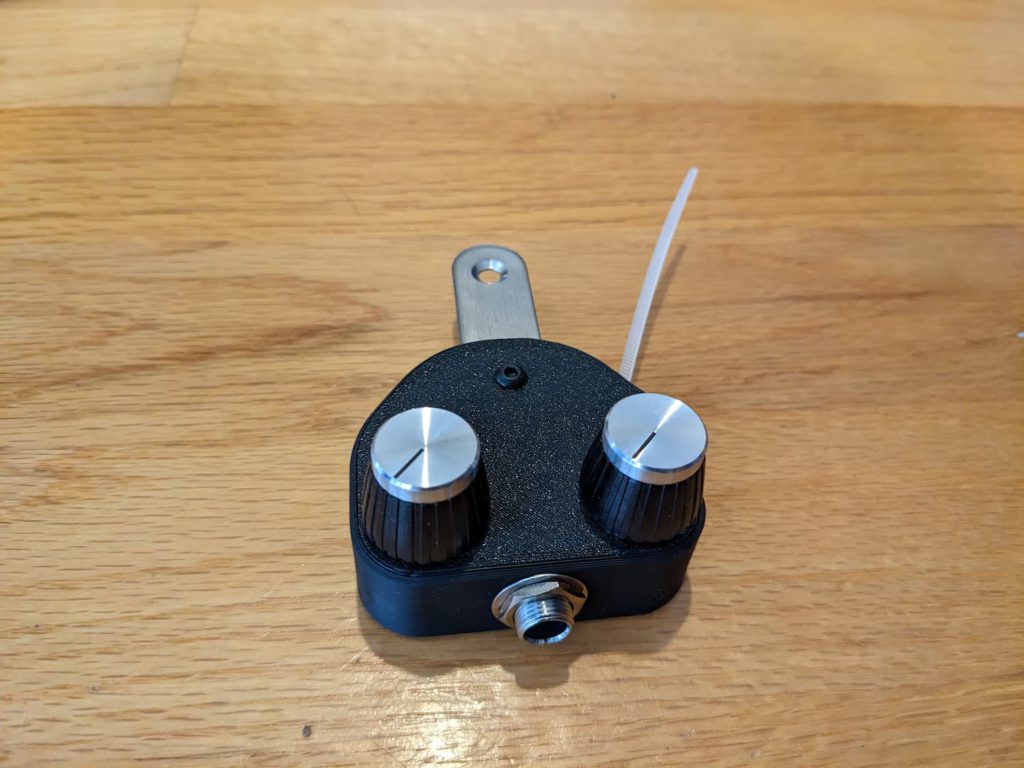
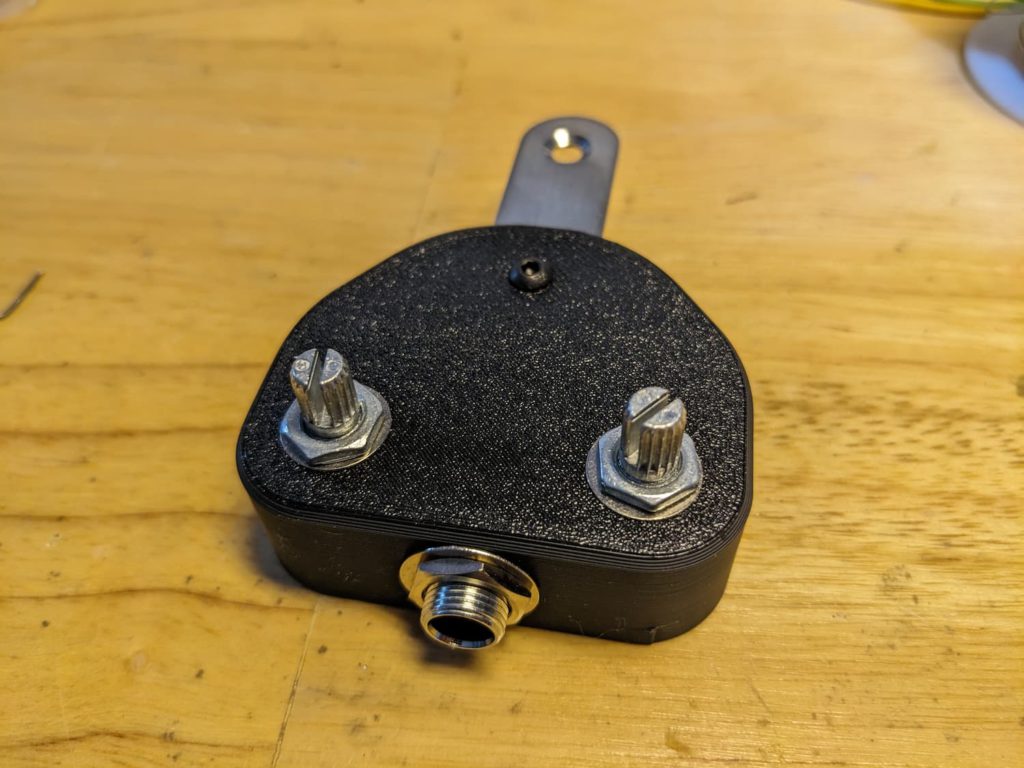
6. Turn both pots all the way down. Loosen set screws (allen wrench or small flathead screwdriver may be required) on the knobs, align on shaft, and tighten them down at the roughly 7 ‘o’ clock position.
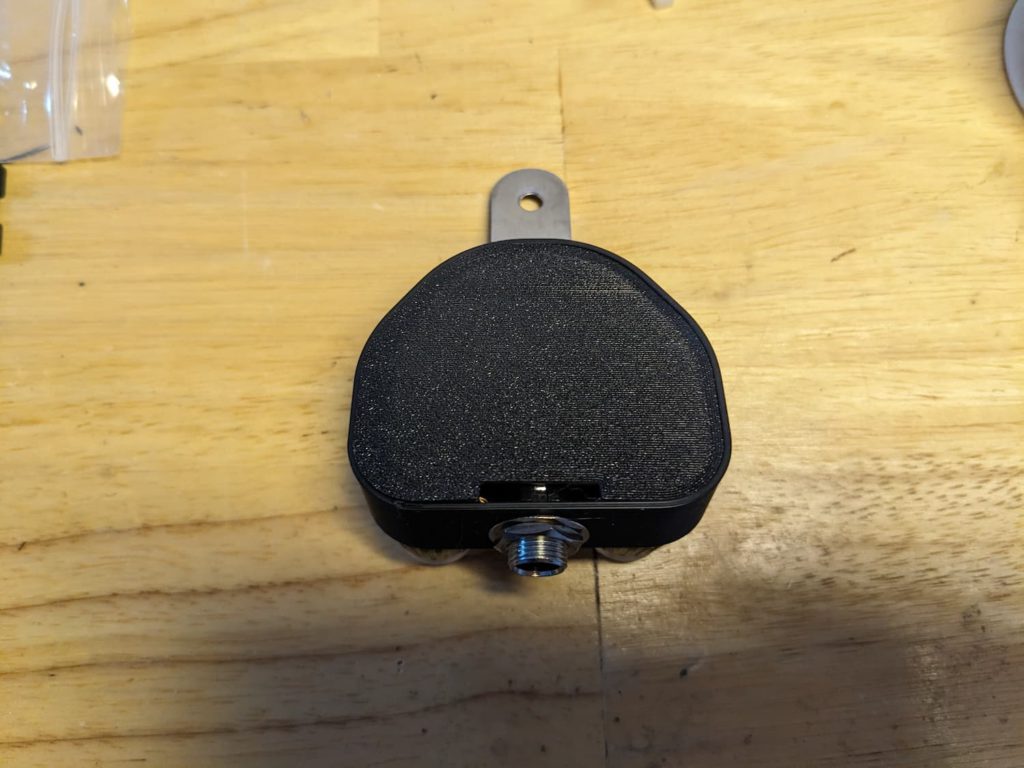
7. Press the back cover to cover the housing. It should snap into place with a bit of pressure.
To wire the pickup, use this diagram: